Scrappy Lines Quilt Along - Week 2
Welcome to week 2 of the Scrappy Lines Quilt Along!
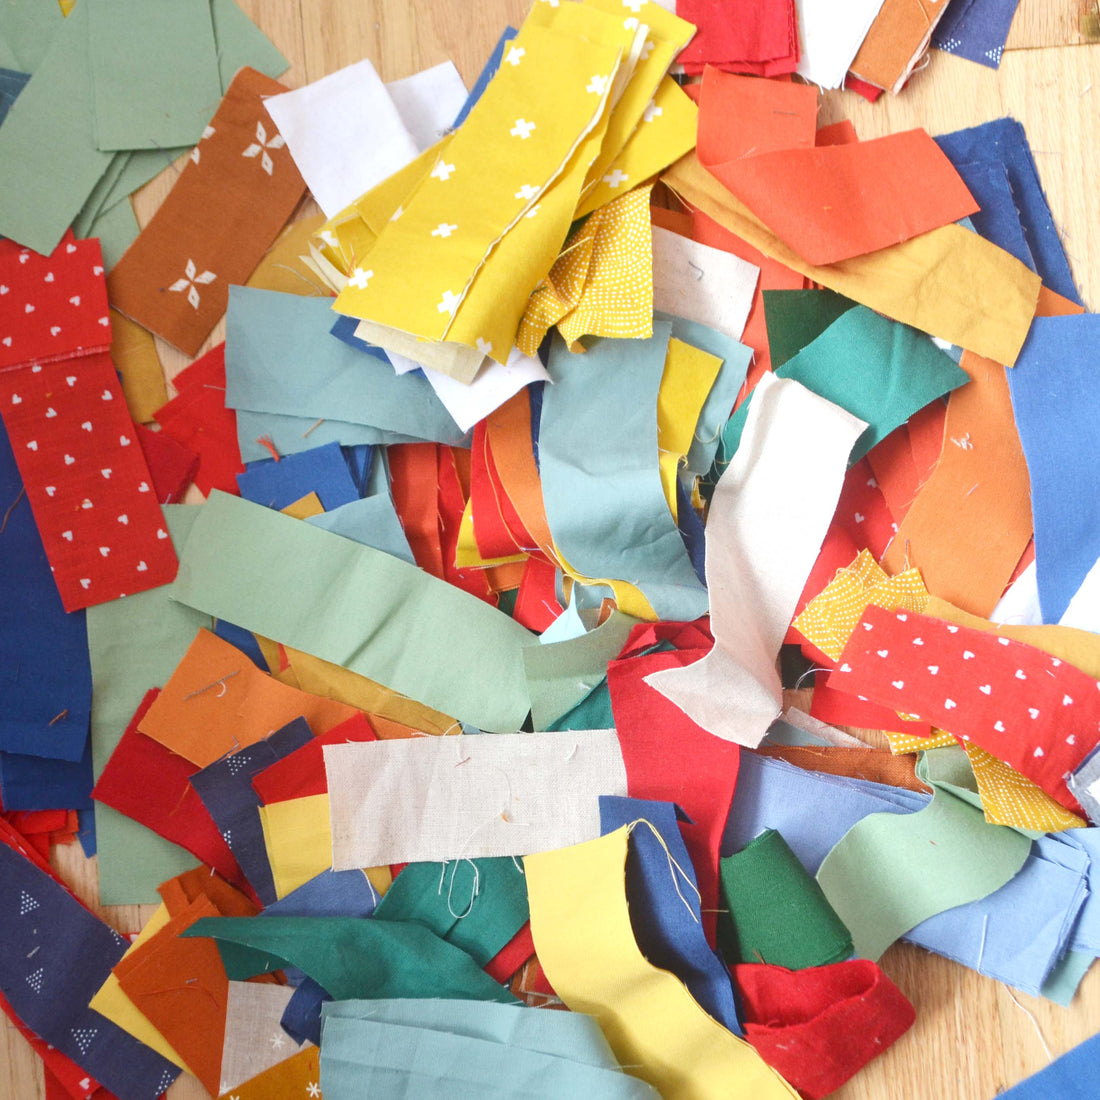
So, we have scoured our scrap bins, ordered fabric and chosen the fabrics that will likely make up our quilts. This sometimes can be very time consuming, yet, I also find it to be one of the most enjoyable parts of making a quilt. If you are new to quilting, just know you are free to change up your choices as the quilt comes together. This week, we cut everything!
Not read for week 2? Head back to the blog post for WEEK 1 to catch up.

Week 2: Cutting Fabric
This week we work on cutting all our fabric in preparation for sewing.
For this week, you will cut the accent strips, the background strips and the sashing and border. Sashing is the fabric that goes between your blocks and border is the fabric around the edge of the quilt. It is very likely that your border, sashing and background are all the same color. Every time I have made this pattern, I have used the same fabric for all three of these. It is separated in the pattern for those of you who want to add more variety in color. Either way works, but make sure you have all the fabric you need.
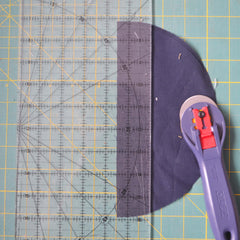
Sometimes, I cut everything at once and sometimes I cut and sew as I go when I quilt. Since we are planning to cut everything this week, I suggest you find a basket, bin or large ziploc bag to store your pieces in. You will see I use a small basket. If you are new to quilting, you may be surprised how tedious and time consuming this step is. You will want to be sure you are cutting your strips as close to exact as possible. Even 1/8" error can be frustrating while sewing a quilt. Having your fabric well pressed helps with this. You will see below I use my cutting ruler by placing it over the fabric so I can cut exactly at the 1.5" width. If you have a good blade on your rotary cutter or scissors, try cutting several fabrics at once. Just layer the fabrics one on top of the other. It's a huge time saver.

I have one last tip. If you are using many different fabrics or you are uncertain you love your choices, only cut about 80% of your accent strips. I do not have the complete amount I need for my finished size cut. However, I know as I piece together my blocks that I may want to add in or remove a color. With the variety in this quilt you can leave some wiggle room for indecision or new directions. As I sew my blocks up next week, I will decide what colors I need more of and cut them for blocks.

Using Jelly Rolls
Some quilters have expressed interest in using jelly roll fabrics for this pattern. Jelly rolls are cut to 2.5" width and the accent strips in this pattern are 1.5" width. This is possible, however. You can use fabric at a 2.5" width by making a few adjustments. First, I would suggest increasing the background strips in between the accent strips to 1.5". Since your block will have a wider finished width, you will need to increase the length also. The length of your strips should be 8.5". So, if you are using jelly rolls, your accent strips should be 2.5" x 8.5" and your background strips should be 1.5" x 8.5". Your block will be a 8.5" square. When you put your blocks together with sashing in week 4, you will not need as many blocks as the regular pattern. You would need 6 blocks in each row and column for a roughly 60" throw quilt.
Week 2 Prize
The prize this week is from Fabric Stork. I will randomly select one of you from the pictures posted this week to receive a bundle from their shop. All you need to do is post a picture on Instagram of your progress. Use the hashtag #scrappylinesqal and tag me. If your account is closed, you can still be in the running for prizes by emailing or direct messaging me a picture.
Thanks for sharing all your progress last week. It was so great to see the variety in your fabric selections. If you have any questions, please email me. I'm always happy to help.
Happy Sewing,
Bess