Golden Lattice Sew Along - Week 1
Welcome to the Golden Lattice Sew Along!
I am so excited to see all of our quilts slowly come together over the next 6 weeks. I have a few housekeeping things to begin.
- When you share your progress on social media, use the hashtag #goldenlatticesal.
- To be entered into the weekly prize drawing, you will need to share a picture of your progress. You can share it on instagram with the hashtag, email me, or share it on facebook. I will be honest that my facebook skills are a bit rusty. I have created an event which starts on January 26th on the Side Lake Stitch page. I think you will be able to post pictures to the event if you join.
- There will also be a question or prompt for the week that you should answer in your post. I will share the prompt in the weekly email.
- Still need the pattern, get it HERE.
- If you have any questions, email me at sidelakestitch@gmail.com.
Week 1: Choose Fabric
Ok, I know many of you may already have accomplished this step. It is hard to wait to choose fabrics because this part is just so exciting! Plus, with all the shortages these days, we all know we need to act early. If you haven't bought fabric, make sure you check your weekly email for coupons.
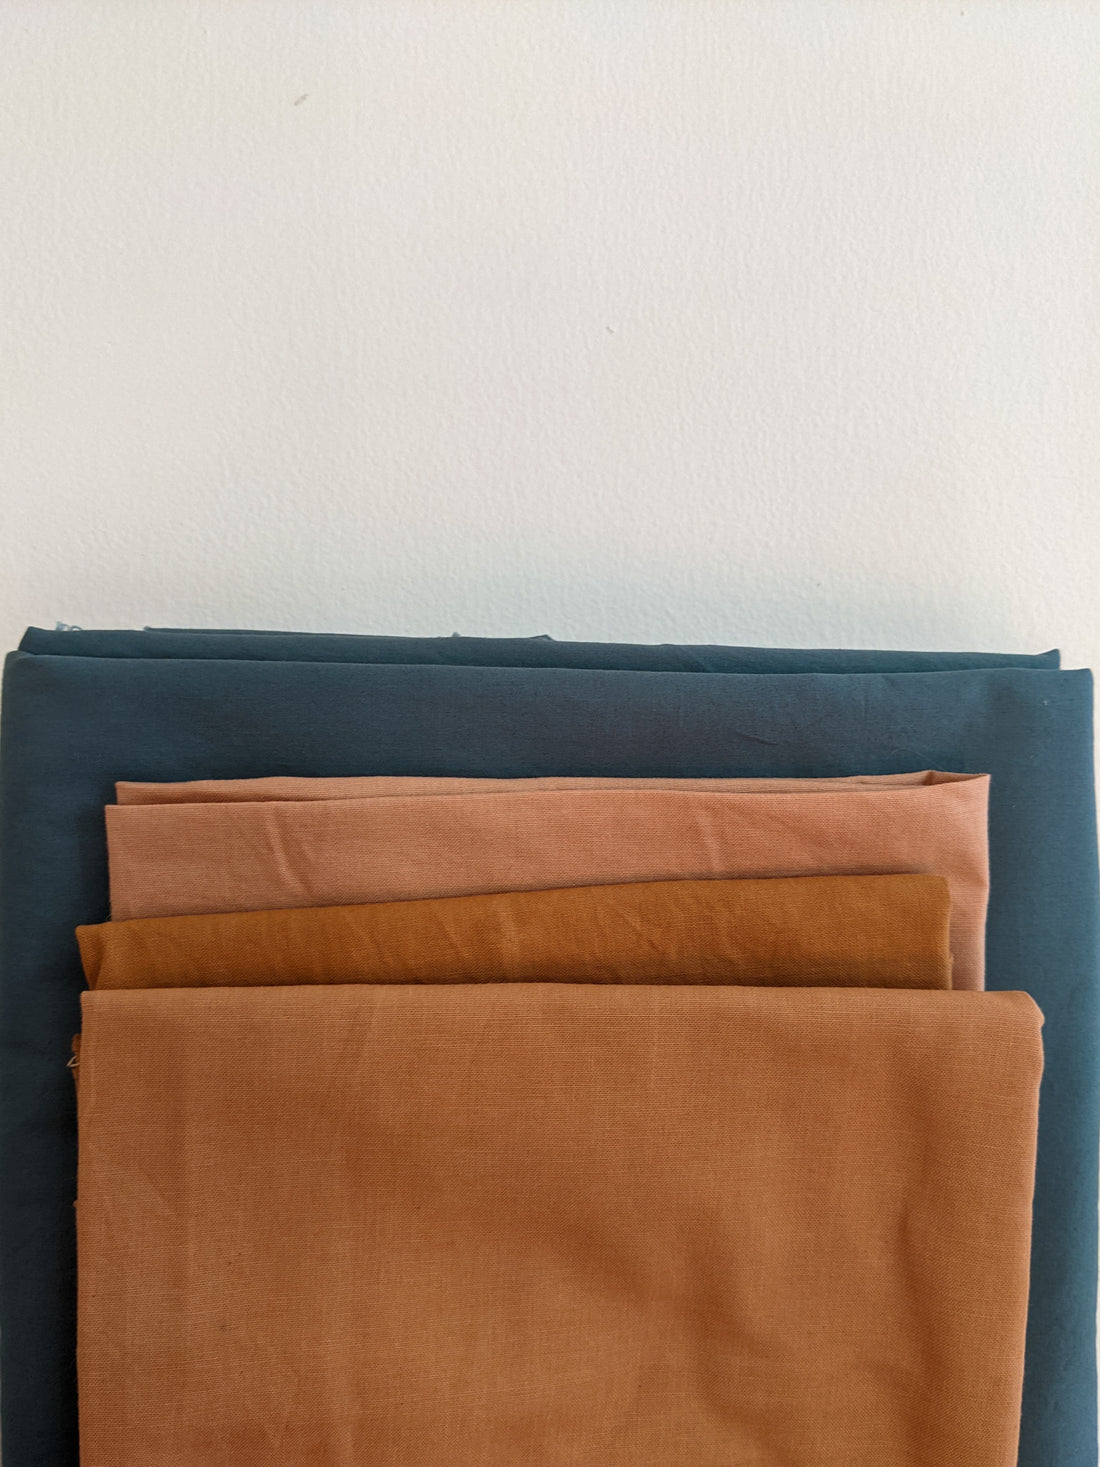
Here is what I am using. It's Northern Waters by Art Gallery Fabrics for the background and a few naturally dyed fabrics. The naturally dyed fabrics are all very similar in color. I'm hoping that tiny bit of difference in shade will add a special touch.

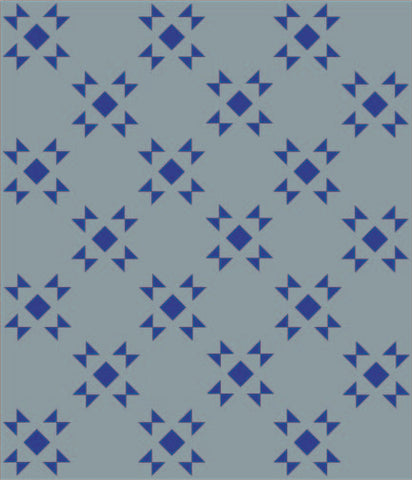
I have really noticed in making mock ups with this pattern that it looks very different between a light and dark background. Take this example of classic black and white. When I switch the colors, the design changes so much to my eye. In the image with the black background, the center diamonds really stand out to me with the overall pattern of the lattice diminished. The white background has a more subtle look and design. This is something you will want to consider before you start. How much do you want the accent fabrics to stand out?


You'll also want to consider how much variety you want in your quilt. Here is an example of a mock-up with multiple colors for the accent colors. I love how multiple colors can make your eyes dance across the quilt. It is more engaging.

If you are really enjoying the mock ups with multiple colors (more below) instead of one color for the accent, consider finding 4-5 colors that go well together. One way to do this is to find a fabric in your stash or a picture on pinterest that is very appealing to you. Pick out the colors you love in this image and use these colors for your quilt.
I have to share this quilt that a pattern tester made last year. Stephanie @ hillside.stitches decided to go with a scrappy background. She sorts her scraps into colored baskets when she sews. So, for this quilt, she took her red/orange/pink scraps to make a very interesting background. This is a great way to change up the background fabric. If someone is feeling very brave, an ombre background would look amazing!

Another fun idea with this pattern is to use the diamond in the square to show off a fun print or color. Here is an example from Olivia @ thesuitcasecreative. She fussy cut the diamonds so each one showed an adorable picture of an animal. I love this idea, and it can add something special to a quilt that is mostly two-tone.

Before I leave you with a bunch of mock-ups, I also want to share my tools for the sew along. I am a quilter who does not like an excess of rulers and cutting tools, so I try to stick to the basics. I will be using my cutting mat, 6" x 24" ruler, rotary cutter, and a square 6.5" cutting ruler. If you do not have a small square ruler, I would highly recommend it. This is what I use for trimming half square triangles. It is easy to move around, and the diagonal line is really helpful for getting the half square triangles perfect.

Mock-Ups
Here are some of my favorite mock ups I came up with. Some of these are classics for two-tones, and some are a bit more spunky. I hope they offer some inspiration.


Week 2
Now that you have your lovely fabric all ready, we get to cut this week. I know some people dread all the cutting, but I always find this part to be really exciting.
This blog is short and sweet. I'm going to give you my best tips for getting straight cuts without all the funkiness.
1. Make sure you have ironed your fabric to get the big wrinkles out.
2. Fold your fabric in half and match up the raw edge. Make sure that these are aligned and smooth out your fabric so it is flat.
3. This is the most important part. When you place the fabric on your cutting board, align the folded edge with a line on your cutting board. The top of your fabric likely is not straight across a measuring line at this point. You can see the top of my fabric is on the left side in the picture below. Cut your top so it is straight. Make sure that your ruler is aligned along the folded edge and then cut straight along a line on your cutting board or ruler to make the top straight.

This is going to help you cut along the grain. You may find after making several cuts, you will need to repeat this step to make the top straight again.
4. Once everything is lined up and the top is straight, start cutting. Below, you will see the top is straight. I have my ruler set for my first cut so that the folded line is lined up with my ruler and I have aligned the top of my fabric with a line on my ruler. Think of this as making a perfect 90 degree angle. This ensures a straight cut.

I usually find some sort of basket, Tupperware, or plate around my house to put all my pieces in. This way, I can quickly pull out what I need when it is time to sew and know I have all my pieces in one place. Luckily, this quilt isn't too complex with many different pieces.
That's all for this week! Make sure to check your email for the weekly prize, prompt, and coupons.

Now time to cut, cut, cut.
1 comment
Hi Bess,
I have inadvertently deleted week 3. I have all the other ones. Would you mind resending? I don’t remember what the question is. Thank you!