How to Dye Fabric with Goldenrod
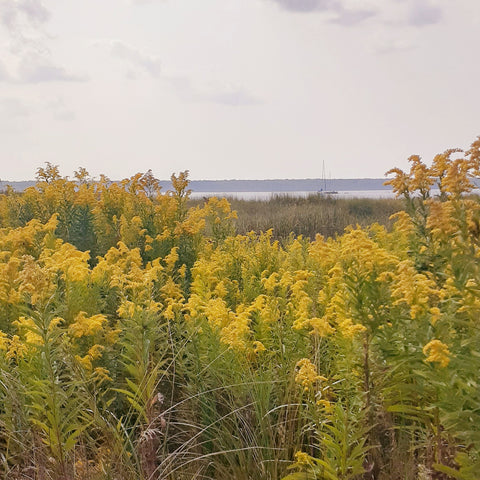
Goldenrod is one of my favorite dye plants to find and use for dyeing fabric. In August and September, it fills fields and ditches everywhere in the Midwest United States. It is so easy to gather and makes the most beautiful yellows and greens on cotton and linen fabrics. There are many plants and foods that will dye fabric yellow, including marigolds, onion skins, and stinging nettle. However, the bright and cheery yellow and smooth green from goldenrod is hard to beat. It is a go-to recipe for natural dyeing for beginners. Keep those sunshine-y colors from summer with you in the winter by dyeing your own fabric with goldenrod. Fabric and yarn dyeing is perfect for any crafter, sewist or yarn enthusiast!
Read on for my instructions on how to dye fabric with goldenrod flowers.
How To Dye Fabric with Goldenrod
1. First, you will need fabric that is prepped and ready to accept dye. If you are completely new to natural dye, download the 5 Simple Steps to Natural Dyeing infographic. This infographic will give you a brief overview of the entire process, and will be a handy guide for you.

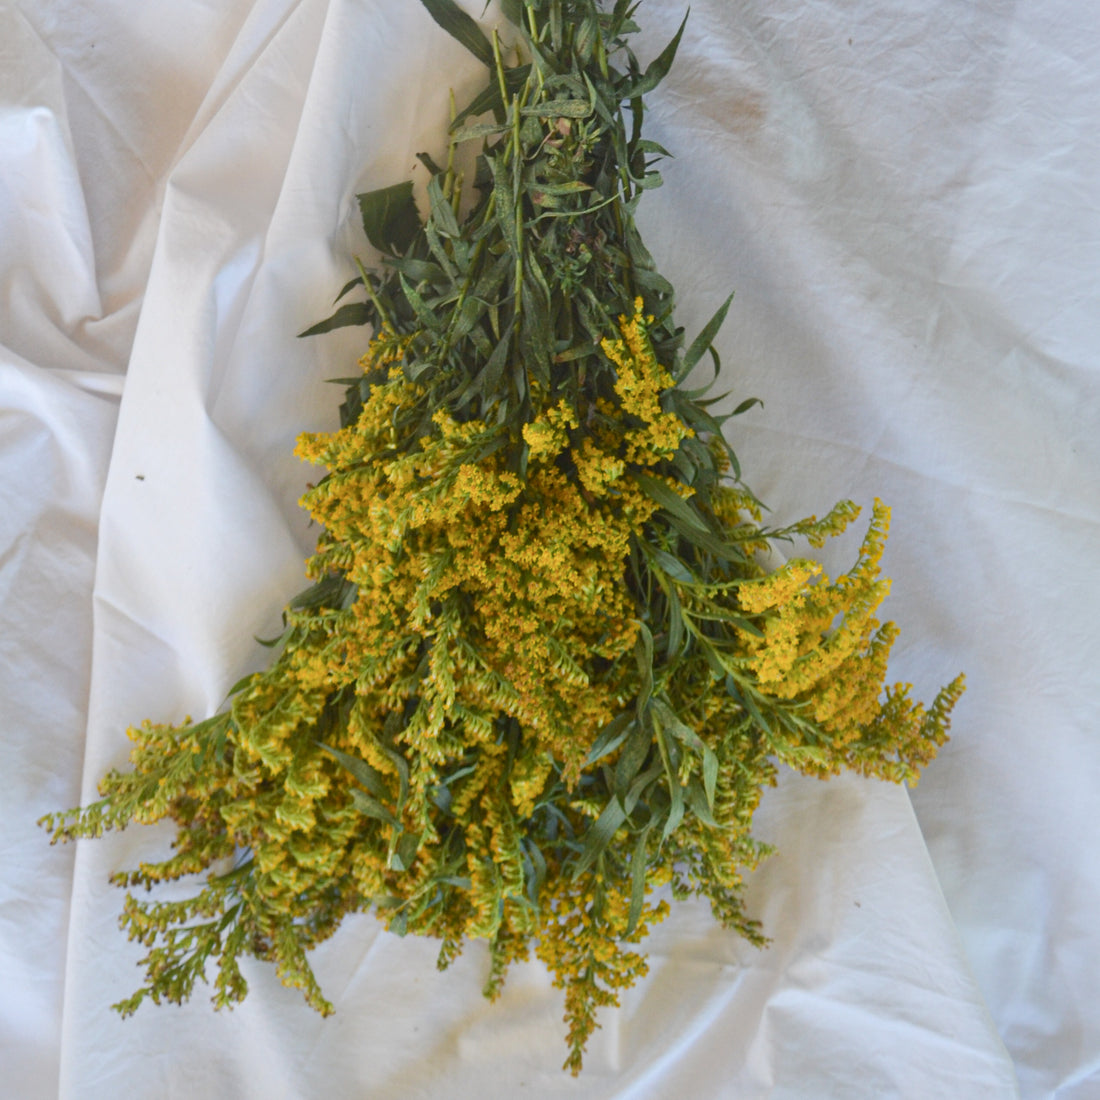
2. Gather goldenrod flowers. In the upper Midwest, you will be find these yellow flowers in August and September. Pick a lot. I pick about as much as would make a very full bouquet. I get into specifics on weight below, but you probably will not have a scale with you while picking. Goldenrod makes my nose itch like wild from allergies. I will not even let it in the car with me. I either pick it while on a walk or put it in our roof box carrier. I suppose you could place it in a bag or box in your trunk, but seriously, allergies.

3. Now, let’ set up your dyepot. When extracting the color from a dye good, you only need to submerge it under enough water to cover it. You can add more water later to make enough room for your fabric. Adding water will not dilute your dye color. Place the goldenrod in the bottom of a pot (steel, metal, aluminum) and cover it with water. I use the flowers and about 6-12 inches of the green stem.

4. I'm going to get more specific with the amount to use, but don't let precise information on weight make dyeing stressful. It is more of a suggestion. In natural dyeing, we use WOF (weight of fabric) as a measurement along with the percentage of the WOF of dye good to use for a certain color. For example, let’s say your fabric weighs 100 grams and you need 15% WOF from your dye good. You would use 15 grams. For goldenrod, I use 100% of the WOF. I know this sounds like a ton of goldenrod. I would guess you could still get good color from less, but I always have so much of it. For this example, I had 100 grams of fabric, so I used 100 grams of goldenrod. I weighed it in a bowl with my kitchen scale.

5. Once you have your dyepot set up, bring this to a simmer (180℉-200℉). Let it stay at this temperature for about 30 minutes. Remove the dyepot form your heat source and let sit for anywhere from 2-24 hours. I find the longer the time, the stronger the color. I like to check my color with a glass to see if it's ready.

6. Before you add your fabric, remove the goldenrod. You can strain the liquid or use a slotted spoon to remove the flowers. Add enough water to your pot so your fabric will move around freely.
7. Add your fabric to your dyepot and start to heat. Again, bring it to a simmer (180℉-200℉) and hold here for 30-60 minutes. You will want to be stirring your pot about every 10 minutes to achieve a consistent color. Do not let it boil. Remove from heat after 30-60 minutes and allow it to cool. You can let it sit for a day to increase color. Remember that it will dry lighter.

8. Now you have two choices - wash or dip it in an iron afterbath. If you want to achieve a nice green, you will need to use iron. I like to mix ½-1 tsp of iron powder (buy here) into boiling water and mix. Pour this into a larger pot of water so your fabric has room to move. I only heat the iron vat to about 120℉-140℉. Once it reaches this temperature, Next, remove the pot from heat and place the already dyed and still wet fabric into the pot. You will want to stir this almost continually and watch for color change. It takes about 10-15 minutes to change the color, but watch closely as it could happen in a couple of minutes.

9. It’s time to wash. Fill a small pot with warm water and add just a dash of a gentle dish detergent. Gently wash and rinse your fabrics until there the rinse water is running clear.
10. Hang your fabrics to dry and store away from direct light. I always go back and machine wash my fabrics with laundry detergent, usually 2-4 weeks later. I use color catchers, just in case. This step could be skipped if you washed really well the first time, but I want to do a final wash before I use this fabric in a project to ensure no color will run. Goldenrod rinses quite easily.
These fabrics look great on their own above, but I think the beauty of their color really stands out mixed with other natural dyes. I love to mix the yellows with shades of pink and violet and the green with earthy salmons, greys and blues.


Who's ready to dye? I know there is a lot to remember here. It is really helpful to break down the basic steps of dyeing if you are new. So, make sure to download the INFOGRAPHIC for dyeing. If you are ready to dive deeper into natural dyeing, check out my BLOG post on the best resources for learning to dye. If you found yourself here and you are more of an admirer of naturally dyed fabrics than a maker, you can check out some of the fabric I have up for SALE.
I can’t wait to see you all create some sunshine. Leave a comment here or contact me by email at sidelakestitch@gmail.com.
-Bess
1 comment
This is a great tutorial! What do you use as a color catcher when laundering for the first time?