Getting Started with Natural Dyes: Avocado Dye
I became interested in natural dye a few months ago after seeing a quilt made with all naturally dyed fabrics. The quilt and its colors were so beautiful, but so difficult to describe. I spend many hours staring at fabric, and yet, here was a color I had never seen before.
Naturally, I began googling about natural dyes. I found many, many examples, but little useful information. Sometimes google just doesn’t have the answers, so I perused the trusty library. I left with three books. Over the next week, I read through the books, and decided to start experimenting.
For my first attempt, I used Rabbitbrush. Up until this point, I didn’t even know that was then name of the plant. Being from the Midwest, I like lush, green vegetation. I tend to look at any sort of bush somewhat resembling a sagebrush as dry, dusty, dull. When I began to really look at the plants around me in Colorado, I discovered there is so much beauty and color.

My first dye was a success, and I began to think I now know how to dye with natural dyes. Now I realize, This thought is akin to a 6 year old declaring they can read Moby-Dick after finishing Dick and Jane. There is so much information and so many different techniques. Below I give directions for the most simple way to give natural dyeing a try.
Dyeing with Avocado
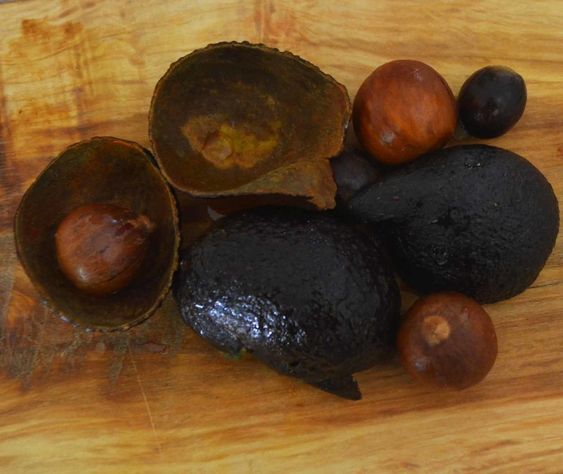
Believe it or not, Avocado pits and skins produce a light blush to light maroon color when used as a natural dye. If you look at the skin or pit, you can see a bit of this color. Avocados have naturally occurring tannins which bind color to fiber. This makes it an ideal choice for dyeing; you do not need to use any mordant.

Directions for Avocado Dyeing
Supplies:
4-6 Pits and skin from Avocado
Large stainless Steel Pot, preferably old
Something to Dye, must be made of natural fibers-wool, alpaca, silk, cotton, linen, hemp, no polyester
1. Pre wash your fabric or garment to be dyed. Wash with a neutral soap with hot water to remove oils. For best results, use soda ash instead of a neutral soap. This step can become complex, but I have found that washing on a hot cycle with soda ash in my washing machine works for dyeing with avocados.
2. Clean The skins and pits from your avocado. Leftover avocado will leave unwanted marks on your fabric. You do not have to use both pits and skins. I have found pits make a softer blush while skins produce a darker blush to light maroon
3. Put pits and skins in stainless steel pot and fill pot to point in which your fabric would be submerged and able to move around freely.
4. Simmer your avocado remnants for 1-2 hours. The longer the time, the stronger color. Do not let your water boil.
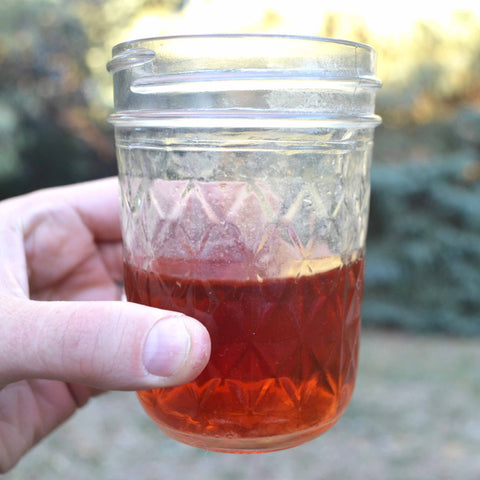
5. At this point, I let the dye pot (what you have just created) sit overnight. This isn’t necessary, but it brings stronger color. You can check your color with a clear glass to decide if the color is strong enough.
6.Turn heat back on for your dye pot. Wet your fabric and place in dye pot. Bring this to a simmer. Let this simmer for 1 hour. Use tongs to occasionally turn fabric around. This allows the color to bind more evenly. Turn off heat and let it sit until cooled.
7. You can look at your fabric at this point and decide if you are satisfied with the color. If you would like more color, let it soak in the dye pot for anywhere up to 3 days. I usually let it soak for close to 24 hours. It will start to mold if you go over around 3 days. Keep in mind, the color is lighter once dry.
8. Once you remove the fabric, rinse it in cold water until the water runs clear. Wash in washing machine with mild detergent.

That's it! I hope you have created something you love and started a new hobby!
If you want to dive deeper into natural dyeing, grab the free infographic - 5 Simple Steps to Natural Dye.
I would love to hear your story if you give this a try. Please leave a comment below.