Quilt Block Canvas Tote

In August, I made an extremely large tote bag which ended up being my favorite beach bag. The tote bag came about accidentally. After piecing together the pillow size from the Northern Sky Quilt pattern (available HERE), I discovered I did not actually have a pillow form. I certainly did not want to run to the store; it is 2020, after all. Having some leftover canvas, I decided it would be best to make a tote bag from my quilt block instead of a pillow, and I then went on to make another, and probably will make another soon. I love this quick project, so here are the details for you to make your own.
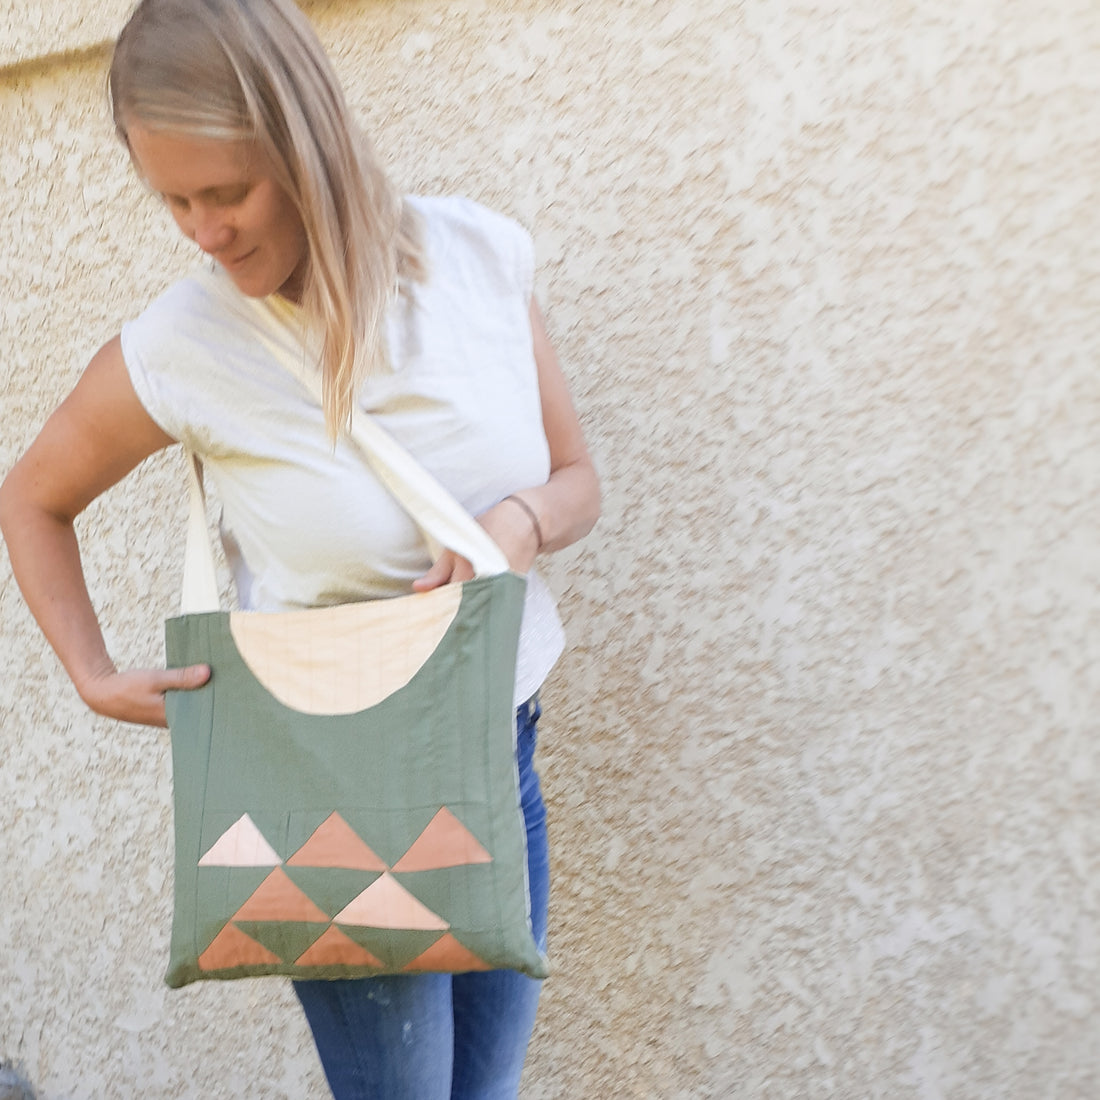
To create a quilt block canvas tote, you can use the pillow or wall hanging size from a quilt pattern, an individual quilt block from quilt pattern, or a whole piece of fabric in the style of a whole cloth quilt. For this demonstration, I used the wall hanging size from my Blossom Moon quilt pattern (available HERE). The wall hanging is very long, so I improvised by using only half of the pattern. Be creative in how you take a design and stretch or shrink it to the best size for you. For this one, I wanted a mid-size tote perfect for a quick trip out of the house with just the essentials.
Let's get started!
DIRECTIONS
Supplies:
-A finished quilt block or piece of fabric: The size is up to you, my quilt block size is 18” x18” so I will refer to these measurements in this tutorial.
-1 piece of cotton Batting, 1 piece of backing fabric, and 1 piece of canvas which all measure 18” x 18”
-2 strips of canvas 4” wide by 30”. You can vary the length to your liking.
-2 pieces of lining fabric which measure 18" x 18”
-2 pieces of pocket fabric which measure 8” x 8”
1. Start by quilting your quilt block in a “quilt sandwich”. Place the batting in the middle and backing fabric on the back with the right sides facing out. Machine or hand quilt through all three layers.

2. Prep your straps. Press each strip in half vertically. Open up and press 1/4 “ of each edge in toward the crease on both sides. Press the strip vertically on the crease again with the pressed ¼” sides facing inward.

3. Sew ⅛” along the vertical edge on both sides of the strip for each strap.
4. Pin each strap onto the outside of your outer fabric. Your outer fabric is your quilt block and the piece of canvas. The strap should be pinned with the raw edge of the strap matching the raw edge of the quilt block and canvas piece of fabric. The handle is facing down.

5. Sew the straps on 1/4" from the top and another line 3/8" from the top. Sew several lines back and forth for durability.
6. Place the quilt block on top of the canvas piece of fabric with rights sides together. Using a ⅜” seam allowance, sew along three sides leaving the top open. Make sure not to sew your straps into your seam. This is your outer bag.
7. Take the 2 pieces of pocket fabric and sew together with the right sides together. Start sewing in the middle of one side and end 2 inches before you reach your starting place. Flip this piece right side out and press. On the side opposite of the opening, sew a topstitch ¼ inch from the top.

8. Place this piece for the pocket onto one piece of your lining fabrics. The placement is up to you, but I center mine and have the top of the pocket 3 inches down from the top of the lining fabric. Starting at one of the top corners, Sew 3 sides of the pocket onto the lining fabric using a ¼” seam allowance.
9. Sew your two lining pieces together on three sides with right sides together using a ⅜” seam allowance. Leave the top side open. On the bottom side, leave an opening 6” wide.
10. With the outer bag right sides out and the lining wrong side out, place the outer bag inside of the lining. Right sides should be together. Match up the seams of the outer and lining of the bag. Make sure the handles are tucked inside between the two bags. Pin around the edge.

11. Using a ½” seam allowance, sew around the top edge of the bags, sewing the outer and lining together.
12. To reverse the bag, pull the outer bag out from the hole in the bottom of the lining. With the lining still out, either machine stitch or hand stitch the opening closed. Tuck the lining inside of the bag.

13. Press along the top edge on the inside of the bag to ensure all of the lining is tucked inside. Topstitch along the top edge using ¼” seam allowance.

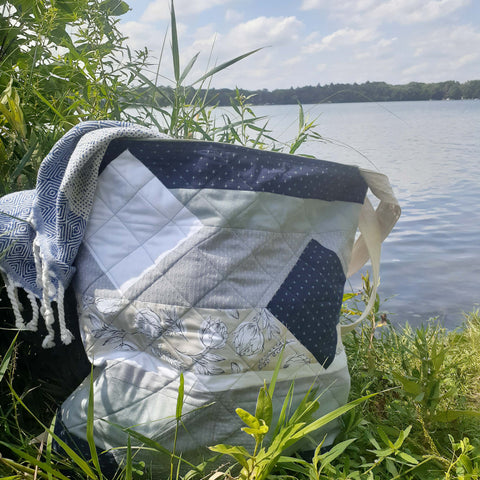
Now you have yourself your very own quilted tote bag. Mine has been used many times and help up very well. It’s a wonderful combination of showing off a unique quilt design while also being durable.
I would love to hear your feedback if you try this tutorial. Leave a comment below to let me know what you created.