How to Dye Naturally with Cutch
Cutch - a tannin-rich dye that comes from the heartwood of Acacia catechu and yields warm toffee browns on fabric. This dye good not only yields amazing warm colors, but also offers so much versatility.
In this blog, I first go over some of the variations in color that can be achieved from cutch followed by a step-by-step of how to dye fabric with cutch. If you are new to natural dyeing and need a handy guide, enter your email below to download the free infographic - 5 Simple Steps to Natural Dye.
Cutch has made it’s way to one of my favorite materials for natural dyeing. I will always prefer to use dye goods that I can source myself, such as onion skins, marigolds, and oak leaves. However, the power and beauty of cutch is undeniable, and it is easily found in a ground powder from Botanical Colors or Maiwa. Cutch yields toffee browns, to caramel, to russet reds, to chocolate browns. Plus, it mixes so well with other dye goods to yield a variety of colors.

Take for example these three samples. The top fabric is dyed with cutch at 15% WOF (weight of fabric); this is fairly light for cutch. The fabric below is from the same dye pot, but after the first exhaust (Exhaust just means the dye bath has been used). The fabric on the bottom was first dyed with a small amount of wattle and then overdyed with cutch. This is probably my favorite color of the three, it leans more toward a light pecan.

Here are a couple more examples of mixing dye baths for excellent color. First, is this Blossom Moon quilt I made. The circles in this quilt were dyed with a mix of cutch and madder. These two make a great combination. The madder adds reddish to pink tones to the cutch.

My other favorite combination is to create a darker bronze by combining pomegranate rinds with cutch. The yellow tone added to cutch really warms up the color. You can see this in the picture below, the fourth fabric from the left has been overdyed with pomegranate rinds.

The most classic ways to achieve variety in color from cutch is to modify the color with an after bath. An afterbath with soda ash added to the water yields a russet red. An afterbath in an iron dye bath yields a chocolate brown. In the picture above, the far left has been modified with iron and the far right has been modified with soda ash. I will go through these afterbaths in the step-by-step below.
How to Dye Fabric with Cutch
- Weigh your materials. To start your dye bath, you will want a rough estimate of your weight of fabric (WOF). Everything in natural dyeing is weighed in grams. For cutch, you will want to use 20-30% of dye extract in comparison to the weight of your fabric. For example, if you had 100 grams of fabric, you would want to use 20-30 grams of cutch. You can get by with less, to be honest, but I would suggest at least 20% to start.
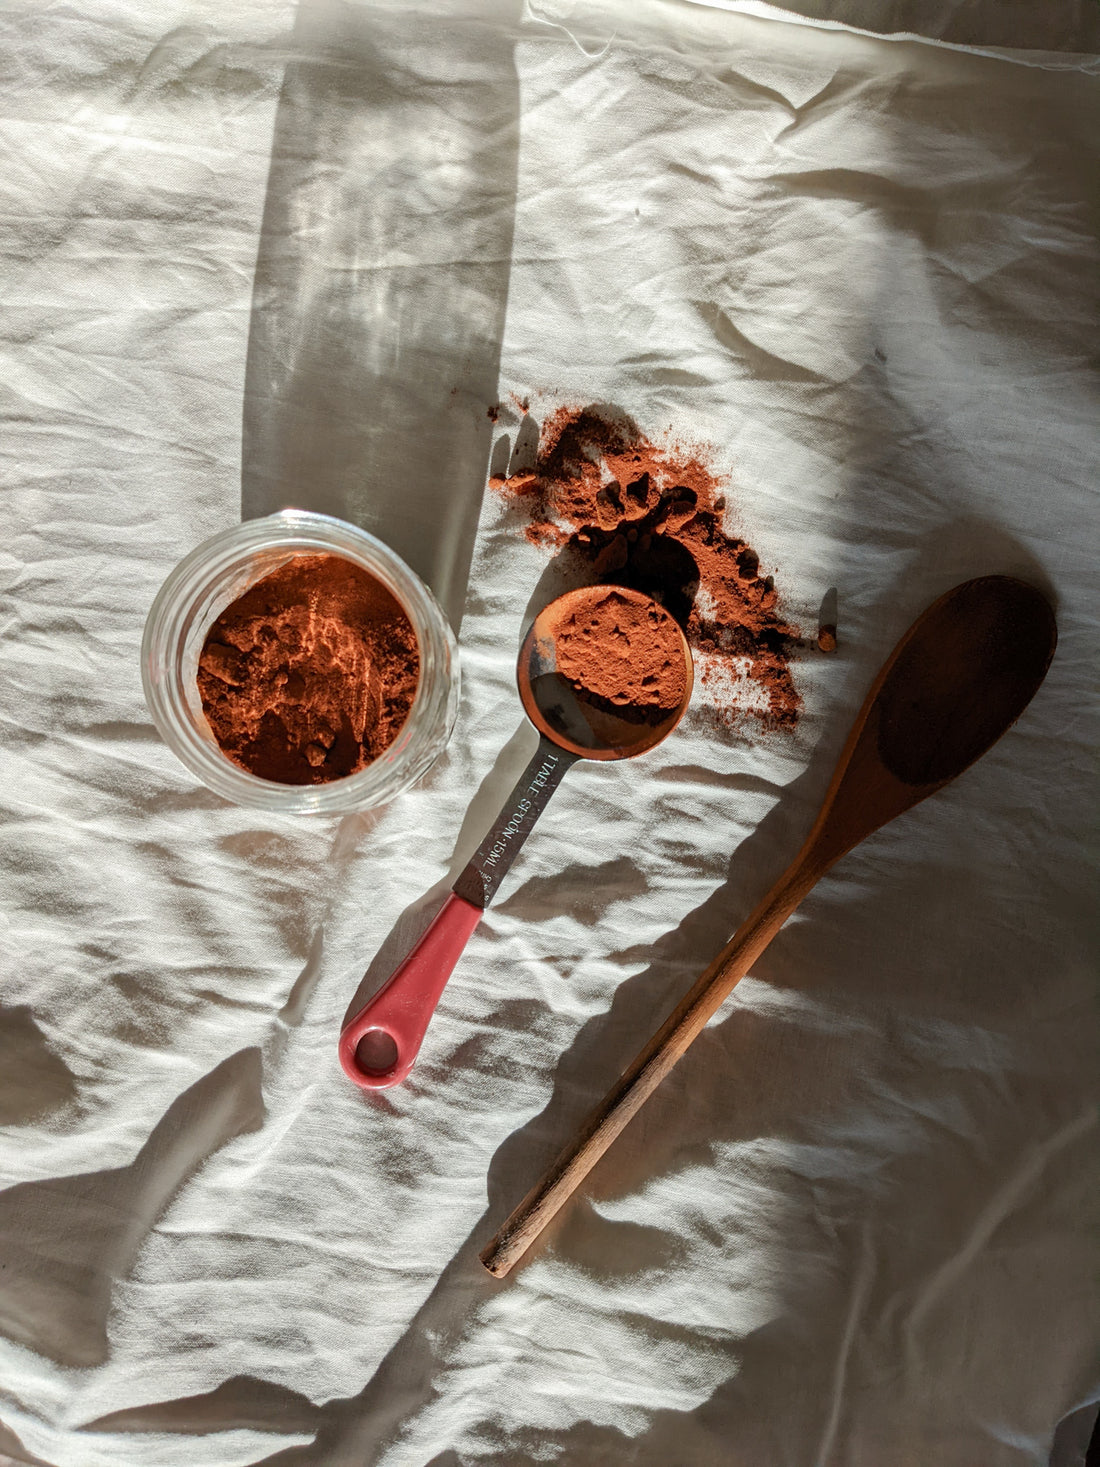
- Not sure what your fabric weighs or do not have a scale - it's ok. I am using Kona cotton. One fat quarter weighs around 45 grams. I’m planning to put 3 in at a time. This is roughly 135 grams, so I will want to use 27 grams (20% WOF) of cutch. I have found that 1T of cutch powder is about 8 grams, so I will use 3 tablespoons for this dyebath. This gives a nice, strong color, and you will be able to use the bath multiple times for lighter colors.

- Start your dyebath. Put water in your dye pot. You do not need a full pot of water at this point. I would suggest about 4 - 6 inches in the bottom of your pot. The best material for a dye pot is stainless steel, but I have found aluminum to work fine also. To start your dyebath, boil water and pour into a small container. Mix in the cutch extract. Stir this well to get out lumps. Add this mixture to your dye pot.

- Note: Cutch is not harmful. However, whenever you are measuring a fine powder, you should wear a mask.
- Heat your dye pot. Slowly bring your dye pot up to about 180 degrees. I like to get it to the point right before the water simmers or boils. Hold it at this temperature for about 30 minutes. I find it best to let the dye pot sit overnight for the best colors. You could skip this step, but I never skip it.

- Add fabric. Add enough water to the dye pot so your fabric will be submerged and able to move around freely. You will want to soak your fabric in plain water for at least 30 minutes before. When you pull it out from soaking, you will be able to see the absorption of the water showing that it is ready to absorb dye. Place your fabric in the dye pot. If there is not enough water, add more.
- Note: You should be using fabric that has already been mordanted and scoured. If you are not sure what this means, there are many online tutorials. I would suggest Botanical Colors blog.
- Heat the dye pot. Bring the dye pot with your fabric up to 180 degrees. Hold it here for 60 minutes. When fabric is in your dye pot, you should stir the fabric every 10 minutes. If there are large folds or too much fabric in your pot, you will get splotchy results. After an hour, shut it off and let the pot sit until cool.

- Optional: Soda Ash Dyebath - To make an afterbath with soda ash, add 2 tablespoons of soda ash to a container of warm water from the tap. This does not need to be heated. Let the soda ash dissolve. Place the dyed fabric in the soda ash bath. Let it sit, gently moving it around, in the afterbath for 2-5 minutes.
- Optional: Iron vat - To make an iron vat or dye bath, fill a pot with hot water and start to heat. Add 1/4 tsp of ferrous sulfate to a small jar of boiling water. Stir. Add this to the dye pot. Let the water heat only until about 120 - 140 degrees. Place the dyed fabric in the iron vat, moving constantly, and watch for color change. This can happen within seconds or take around 15 minutes. Remove and proceed to the next step. Just a note - you can make your own iron solution at home from rusty nails. Place the nails in a glass jar and add 2 cups of water and 1 cup of vinegar. Cover and let it sit for 2 weeks. To use this, pour about one half cup into water to create an iron dye pot.
- Rinse. Rinse your fabric in plain water or with a dash of dish soap. Continue to rinse until the water runs clear.
- Wash. I wait 2 weeks to wash my fabrics. Wash your fabrics in cold water in a washing machine with a gentle detergent. I prefer Seventh Generation. Hang your fabric to dry. Once dry, store somewhere out of direct sunlight as extended amounts of sun can dull the color.
